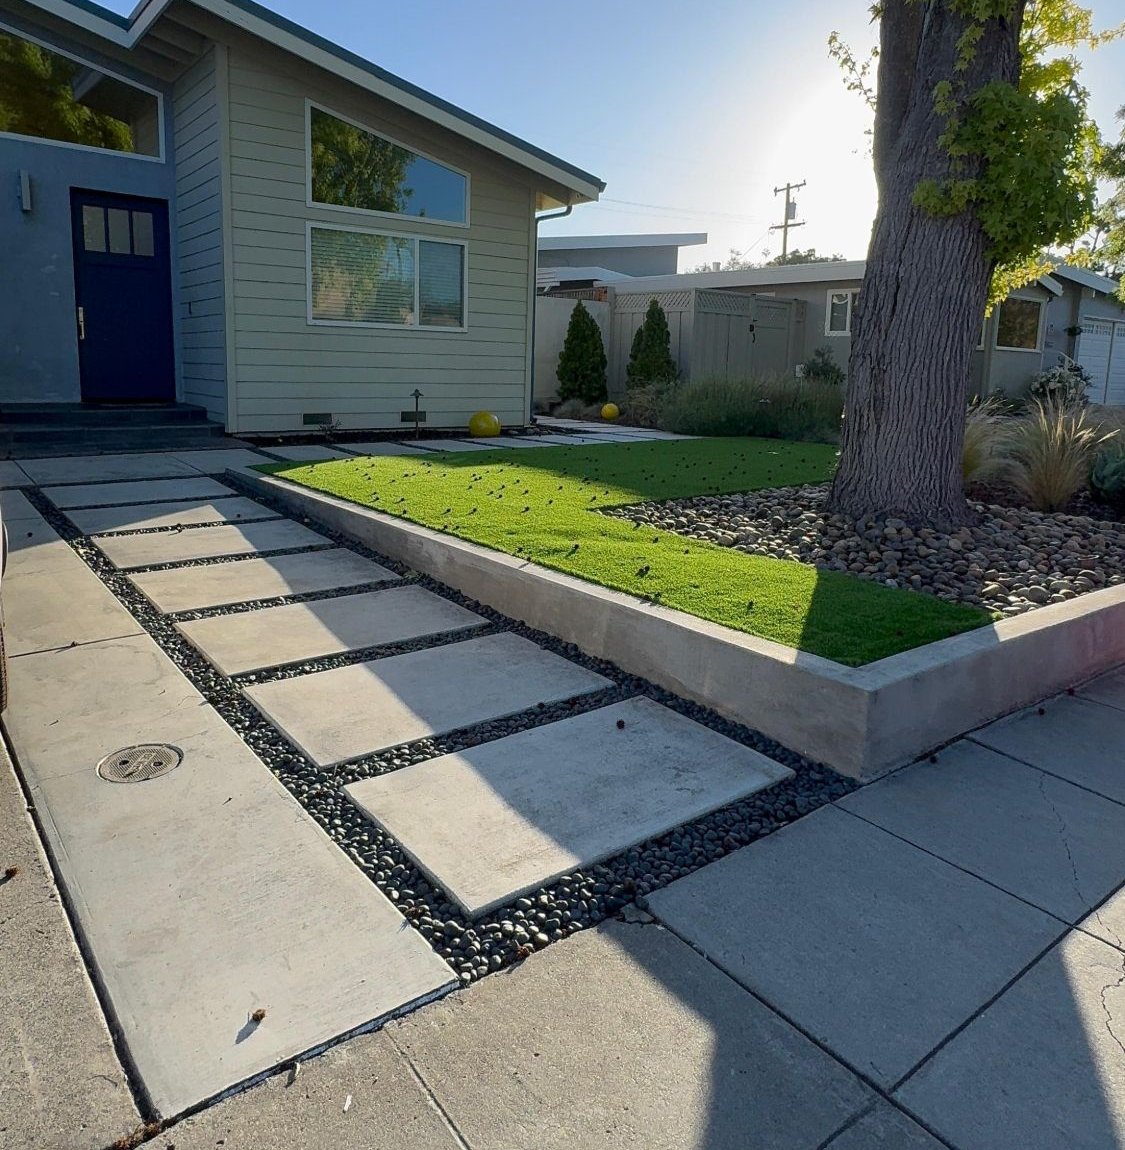

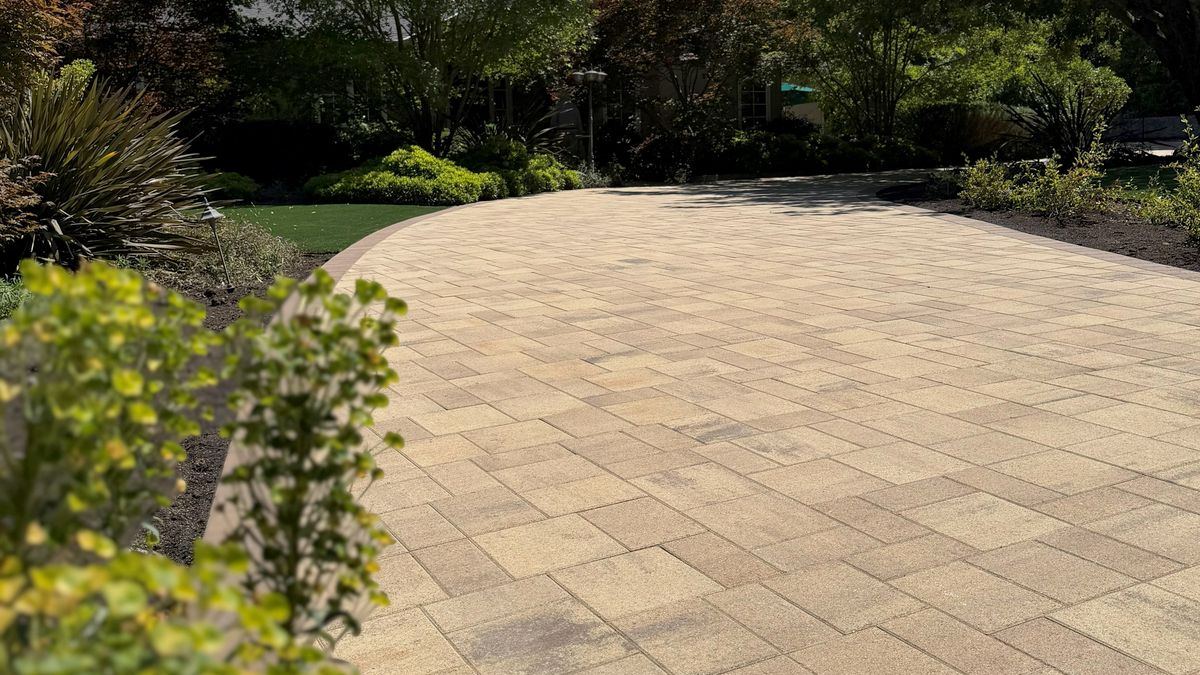
A paver patio looks finished the day the last paver goes in, but most of the work happens underground. The Interlocking Concrete Pavement Institute (ICPI) publishes the installation standard the industry follows, and it comes down to one idea: build a stable, well-compacted base and the pavers on top will stay put. Here is how we build a paver patio or driveway, step by step.
Before the first shovel: the 811 call
California law requires anyone who plans to dig to notify the regional utility notification center first, and in Northern California that is USA North 811. We make the call ourselves, usually about four days before the start date, and the utility companies mark their underground lines with paint or flags. You only need to give us access if a line has to be marked behind a gate or fence.
Step 1: Demolition and excavation
We remove the existing concrete, grass or old pavers and dig out the area: 8 inches for foot-traffic areas such as patios and walkways, and 10 inches where vehicles will drive. The depth is not arbitrary. It leaves room for the base rock, the bedding sand and a paver about 2½ inches thick, with the finished surface sitting at the right height against your house.
Step 2: Subgrade
The natural soil underneath is compacted first, because a base can only be as stable as the ground it rests on.
Step 3: Geotextile
A geotextile goes down next: a fabric of strong fibers that keeps the base rock from mixing into the soil below and helps hold the whole area together. It is especially valuable over soft or wet soil, like the clay found in parts of the Bay Area.
Step 4: The base
The base carries the load. We use Class 2 base rock: 5 inches for foot traffic and 7 inches for vehicles. It goes down in layers rather than all at once, and each layer is compacted to 98%, the figure ICPI specifies (98% of standard Proctor density). Where the area needs it, the slope is built into the base so water runs away from the house instead of pooling on the pavers.
Step 5: Bedding sand
On the compacted base goes a layer of bedding sand about ¾ to 1 inch thick, screeded perfectly level. ICPI calls for a nominal 1 inch of uncompacted sand. This thin layer is where the pavers seat themselves. It is not a place to correct an uneven base.
Step 6: Laying the pavers
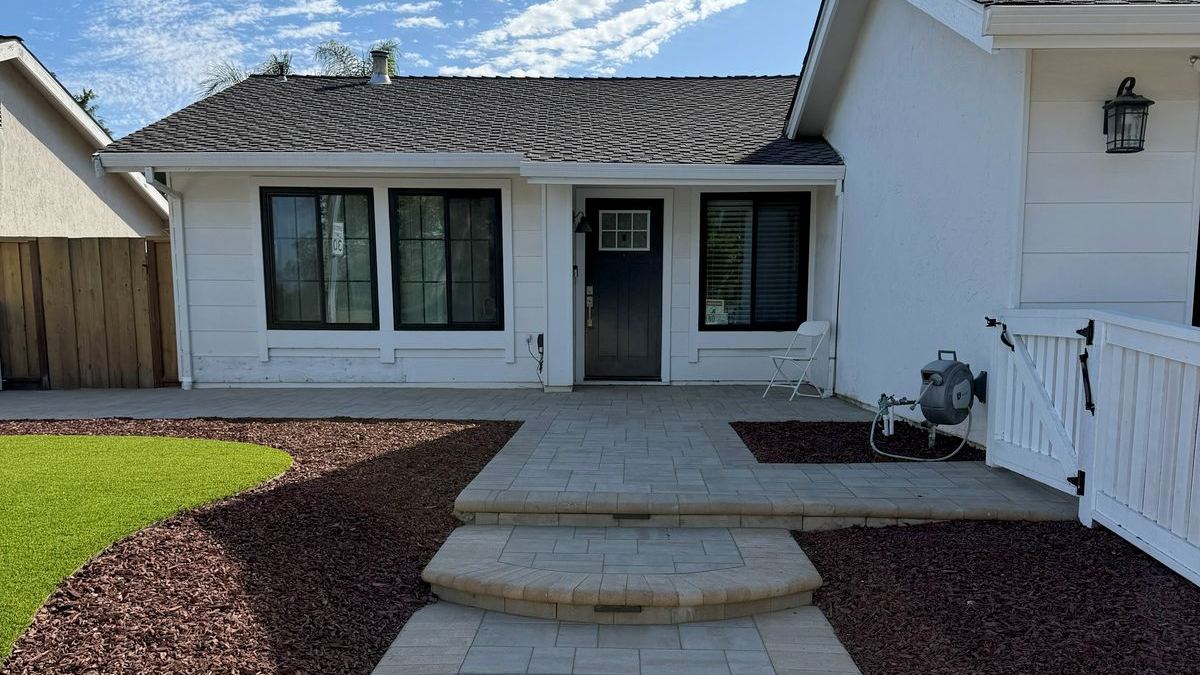
We lay the pavers in the pattern you chose, working from a straight reference line and keeping the joints tight and consistent, around 1/8 inch. We typically use Belgard pavers about 2½ inches thick.
Step 7: The border
Once the main pattern is down, we cut out the edge along the whole perimeter and install the border on concrete. A paved surface without a firm edge slowly spreads outward, and the border is what holds everything together year after year.
Step 8: Compaction
With the border in place, we compact the pavers so every one seats into the sand and the whole surface sits level.
Step 9: Polymeric sand
Polymeric sand is swept into the joints and compacted so it reaches the bottom of every joint. Once it is activated, it hardens into a flexible joint that locks the pavers together and helps resist weeds and washout.
Step 10: The finish
We blow off the excess sand and lightly mist the surface with water to activate the binder. Sealing is not part of our standard installation. Some homeowners like the richer color a sealer gives, and we can do it as an optional extra at an additional cost.
Why the order matters
Every step protects the next one. Skip the compaction and the base settles. Skip the border and the pavers creep. Skip the polymeric sand and the joints wash out. That is why we explain each stage during the estimate, and why a paver surface built this way can last for decades. If you would like to see how it would apply to your yard, we are happy to walk the property with you.